 Pin it
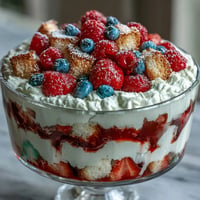
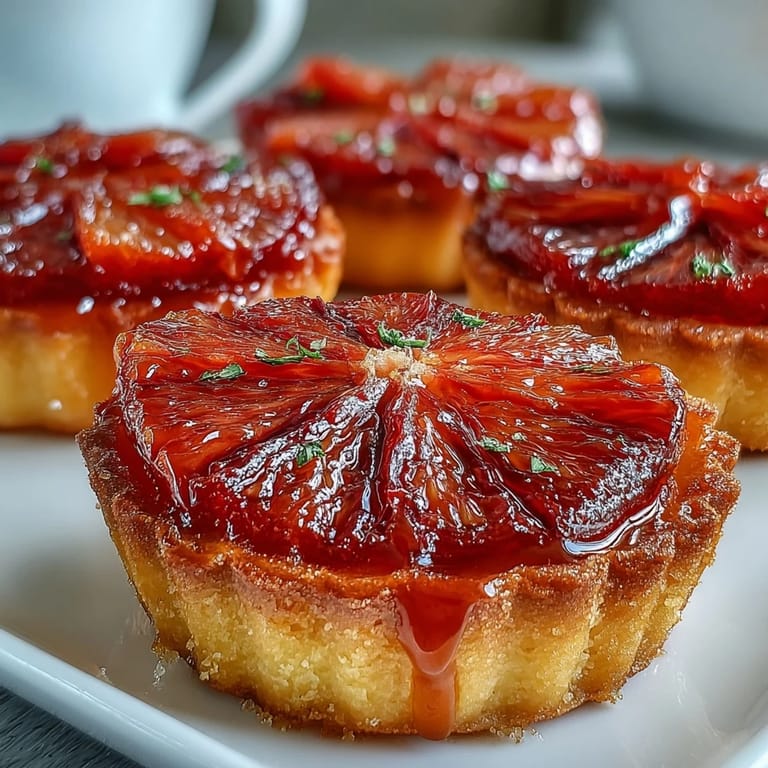
 There was this dinner party last February where I somehow agreed to make dessert for twelve people. The blood oranges at the market were impossibly vibrant—those deep crimson slices that look like stained glass when you hold them up to the light. I'd never made tarts from scratch before, but something about their jewel-like intensity made me reckless. We served them after a long, loud meal, and the room went quiet when the plates hit the table.
My friend Sarah actually helped me arrange the orange slices the first time. We were both slightly exhausted from cooking all day, standing over the counter with flour on our sleeves, trying to make the overlapping pattern look effortless. There's something meditative about placing each slice just so, watching the colors shift from ruby to vermilion. Those tarts became the thing she still asks me to make for her birthday every year.
Ingredients
- All-purpose flour: The foundation for a shell that bakes up tender and crisp, holding its shape beautifully
- Powdered sugar: Dissolves more easily than granulated, creating a finer crumb in the pastry
- Cold unsalted butter: Keep it ice-cold and cut into small cubes before mixing for flaky layers
- Egg yolk: Adds richness and helps bind the dough together without making it tough
- Ice water: Add just enough to bring the dough together, starting with one tablespoon
- Salt: A tiny pinch wakes up all the flavors in the shell
- Whole milk: Creates a luxuriously smooth custard that feels substantial
- Granulated sugar: Sweetens the custard just enough to let the vanilla shine through
- Egg yolks: These three yolks are what give the custard its velvety texture and rich yellow color
- Cornstarch: The secret to getting that perfect, sliceable consistency in the filling
- Pure vanilla extract: Don't skimp here—real vanilla makes all the difference
- Unsalted butter: Stirred in at the end to give the custard an almost glossy finish
- Blood oranges: Look for fruits that feel heavy for their size with bright, unblemished skin
- Honey: Optional, but a light brushing makes the oranges glisten like they're lit from within
- Water: Just enough to thin the honey for brushing over the fruit
Tired of Takeout? 🥡
Get 10 meals you can make faster than delivery arrives. Seriously.
One email. No spam. Unsubscribe anytime.
Instructions
- Make the pastry dough:
- Pulse the flour, powdered sugar, and salt in a food processor until combined, then add the cold butter and pulse until the mixture looks like coarse crumbs with some pea-sized pieces remaining.
- Bring it together:
- Add the egg yolk and pulse, then drizzle in ice water one tablespoon at a time until the dough just starts to clump together—it should still look slightly shaggy, not wet.
- Chill the dough:
- Gather the dough into a disk, wrap it tightly in plastic, and let it rest in the refrigerator for at least an hour so the gluten relaxes and the butter firms up again.
- Shape the tart shells:
- Roll the chilled dough on a lightly floured surface until it's about an eighth of an inch thick, then cut circles to fit your tart pans and press the dough gently into the corners.
- Blind bake the shells:
- Line each shell with parchment paper, fill with pie weights or dried beans, and bake at 350°F for 15 minutes before removing the weights and baking 5 more minutes until golden.
- Warm the milk:
- Heat the milk in a medium saucepan until it's steaming and small bubbles form around the edges—don't let it come to a full boil.
- Prepare the yolk mixture:
- Whisk the egg yolks, sugar, and cornstarch together in a bowl until the mixture is pale and slightly thickened, about 2 minutes of whisking.
- Temper and thicken:
- Slowly whisk about half the hot milk into the yolk mixture, then pour everything back into the saucepan and cook over medium heat, whisking constantly, until the custard bubbles and thickens.
- Add the finishing touches:
- Remove the custard from heat and stir in the vanilla and butter until smooth, then press a piece of plastic wrap directly onto the surface to prevent a skin from forming.
- Chill everything thoroughly:
- Let the custard cool to room temperature, then refrigerate it for at least an hour while the tart shells cool completely.
- Assemble the tarts:
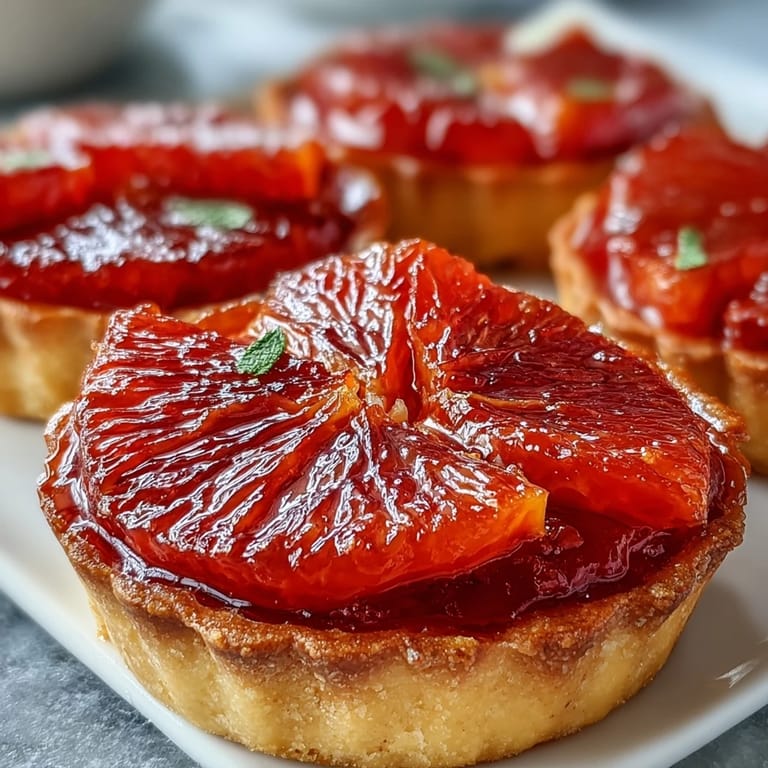
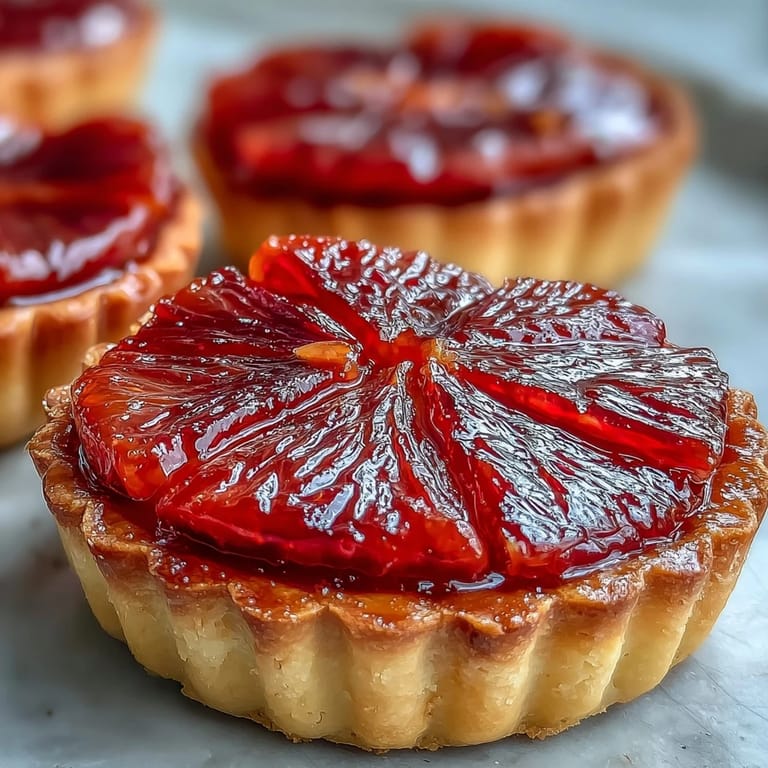
- Spoon the chilled custard into each tart shell, smoothing the tops, then arrange overlapping blood orange slices in concentric circles on top.
- Add the final gloss:
- Warm the honey with the water in a small pan until fluid, then gently brush it over the oranges for that professional shine.
- Chill before serving:
- Refrigerate the assembled tarts for at least 30 minutes to let everything set, though they're even better after an hour or two.
 Pin it
 I brought these to a potluck once where nobody knew each other that well. Dessert came out, and suddenly everyone was leaning across the table asking about the red oranges, passing plates around, comparing the colors in their slices. Food does that sometimes, doesn't it? It gives people something to talk about when they need it most.
Getting That Perfect Shell
The trick to tart shells that don't shrink is handling the dough as little as possible and letting it rest thoroughly. I've learned the hard way that rushing the chilling step means you'll end up with tiny, misshapen shells. And when you're pressing the dough into the pans, use your thumbs rather than your palms—your fingers stay cooler, which keeps the butter from melting too soon.
Custard Mastery
Patience is everything with custard. You want to whisk constantly while it cooks, getting into the corners of the saucepan where the starch likes to hide and clump. The moment you see those first bubbles breaking the surface, give it fifteen more seconds and call it done. Overcooked custard gets grainy, and nobody wants that after all your effort.
Working With Blood Oranges
When you're slicing the oranges, aim for rounds as thin as you can manage without them falling apart—maybe an eighth of an inch. The thinner they are, the more elegant they look arranged on top of the custard. If you have some slices that are mostly white pith, just save those for snacking and use the prettiest ones for the tarts.
- Look for blood oranges from December to March when they're at their sweetest
- Room temperature oranges release more juice when you slice them, so chill them first
- If your oranges aren't quite red enough, a few drops of beet juice in the honey glaze deepens the color
 Pin it
 There's something genuinely satisfying about serving something that looks like it came from a patisserie but tastes like home. These tarts have that perfect balance—impressive enough for special occasions, simple enough for a Tuesday night when you need something beautiful in your life.
Recipe FAQs
- → Can I prepare these tarts in advance?
Yes, these tarts are excellent for making ahead. You can prepare the tart shells and custard a day in advance, storing them separately. Assemble the tarts just before serving to ensure the crispness of the shells and freshness of the fruit.
- → What if blood oranges are not available?
If blood oranges are out of season or difficult to find, you can easily substitute them with regular navel oranges or even mandarins. The key is to use segments that are peeled and thinly sliced for the best presentation and flavor balance.
- → How can I achieve a glossy finish on the orange topping?
For an elegant, glossy sheen, gently warm a small amount of honey with a teaspoon of water. Once combined, lightly brush this mixture over the arranged blood orange segments just before serving. This not only adds shine but also a touch of sweetness.
- → What's the secret to perfectly crisp tart shells?
The key to crisp tart shells lies in chilling the dough thoroughly before rolling and before baking. Using cold butter, avoiding overworking the dough, and blind baking with pie weights ensures they hold their shape and bake up beautifully golden and flaky.
- → How long do these tarts keep fresh?
Once assembled, these tarts are best enjoyed within 1-2 days when stored in the refrigerator. The tart shells may soften slightly over time, so for optimal texture, consume them relatively quickly.
- → Is it possible to make a gluten-free version of this dessert?
Absolutely! To make these tarts gluten-free, simply substitute the all-purpose flour in the tart shell recipe with a high-quality gluten-free all-purpose flour blend. Ensure your chosen blend is suitable for baking and check for any additional binding agents needed.